How to setup and configure gcloud command line
We all know the popular Google Cloud Platform (GCP) alongside with their competitors like AWS, Azure, Alibaba Cloud, Digital Ocean and many many more. All of them can be accessed and managed by just visiting their web applications using your browser. However, most of them have developed some kind of an app for local use on your computer to execute commands without using a UI and thus be more productive.
In this topic we will talk about Google's gcloud command line interface (CLI) and how to install and configure it on your computer.
Installation
Step 1: Installing gcloud SDK
According to this official documentation you can easily install gcloud not only on all the popular linux distributions, but also on Mac OS and Windows. Just follow the steps that are appropriate for your OS.
There is an additional way to install gcloud on Mac OS using Homebrew. According to this formulae you can easily install the gcloud SDK by just executing this command.
brew install --cask google-cloud-sdk
Step 2: Verify your installation
After installation was successfully done, verify your installation by running the following command.
gcloud version
You should see similar output like this.
Google Cloud SDK 415.0.0
bq 2.0.84
core 2023.01.20
gcloud-crc32c 1.0.0
gke-gcloud-auth-plugin 0.4.0
gsutil 5.18
Step 3: Authenticate on GCP
First of all, before running any command you have to authenticate your CLI to be able to access Google Cloud.
Run this command and authenticate yourself using your Google account.
gcloud auth login
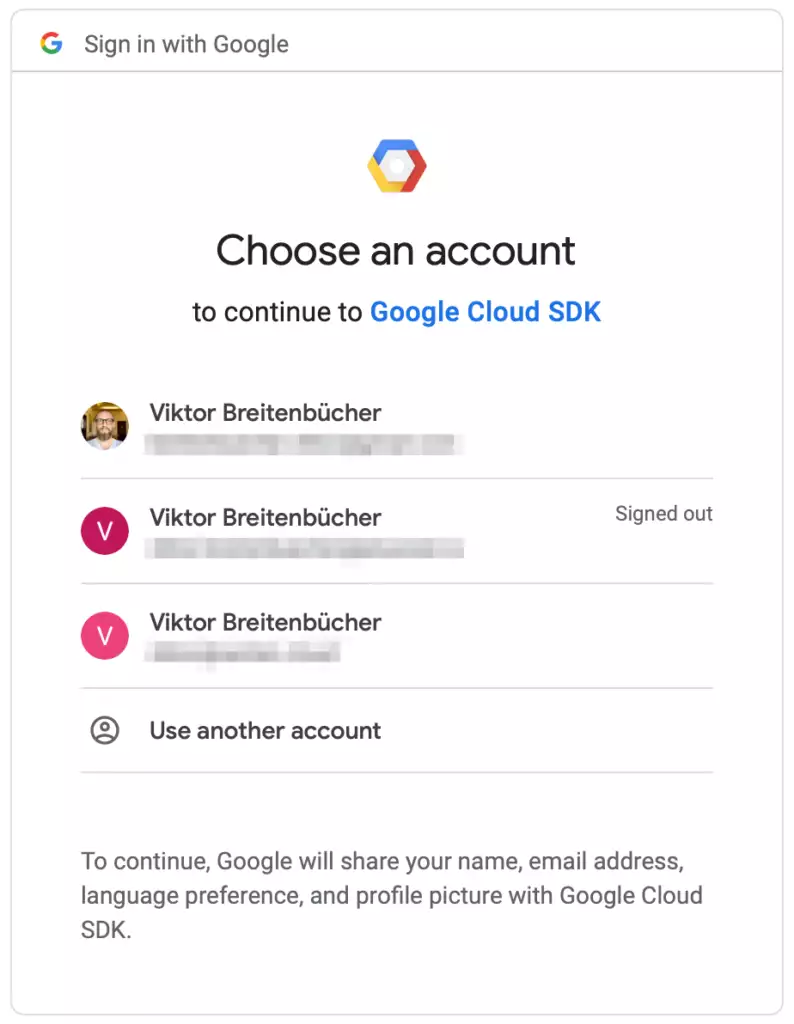
A browser window will be opened where you can login with an existing Google account or create a new one.
Once the authentication was successful the browser window gets closed and you will find similar output on your terminal console.
You are now logged in as [GOOGLE_ACCOUNT].
Your current project is [None].  You can change this setting by running:
  $ gcloud config set project PROJECT_ID
Step 4: Run some basic configuration
After you successfully authenticate your gcloud CLI, you still have to choose the project and the zone you want to work in.
You can achieve this in two ways. Run the following command and let gcloud ask you about all the necessary configurations need to be made before start working with the CLI.
gcloud init
Or you can set the project and the zone manually by executing those two commands.
gcloud config set project PROJECT_ID
gcloud config set compute/zone ZONE
Now you are ready to go and you can start using gcloud CLI.
Conclusion
I always prefer using the local terminal rather then go to the web application. After spending some time with the CLI you will definitely learn and master all the commands you need. And I promise you, you will become more productive using the terminal instead of clicking around in the web browser.